Enable Microsoft Authentication
This information is intended for Network Administrators who wish to enable single sign-on (SSO)
Step by step instructions:
Launch your Azure Active Directory portal
Click the "Azure Active Directory" link in the left navigation bar
Click the "App Registrations" link
Click the "New Registrations" button
Enter the user facing name as "UniPhi"
Either limit to users from your own tenant or any tenant if you expect to have users from outside your Azure AD
Set the redirect URI to https://<youruniphiurl>/microsoft_account
Click the Register button

Copy and record the Application (client) ID
Click on the "Redirect URIs" link on the right hand side of the screen
Under "Advanced Settings", set the "Logout URL" to https://<youruniphiurl>/microsoft_account/logout.aspx

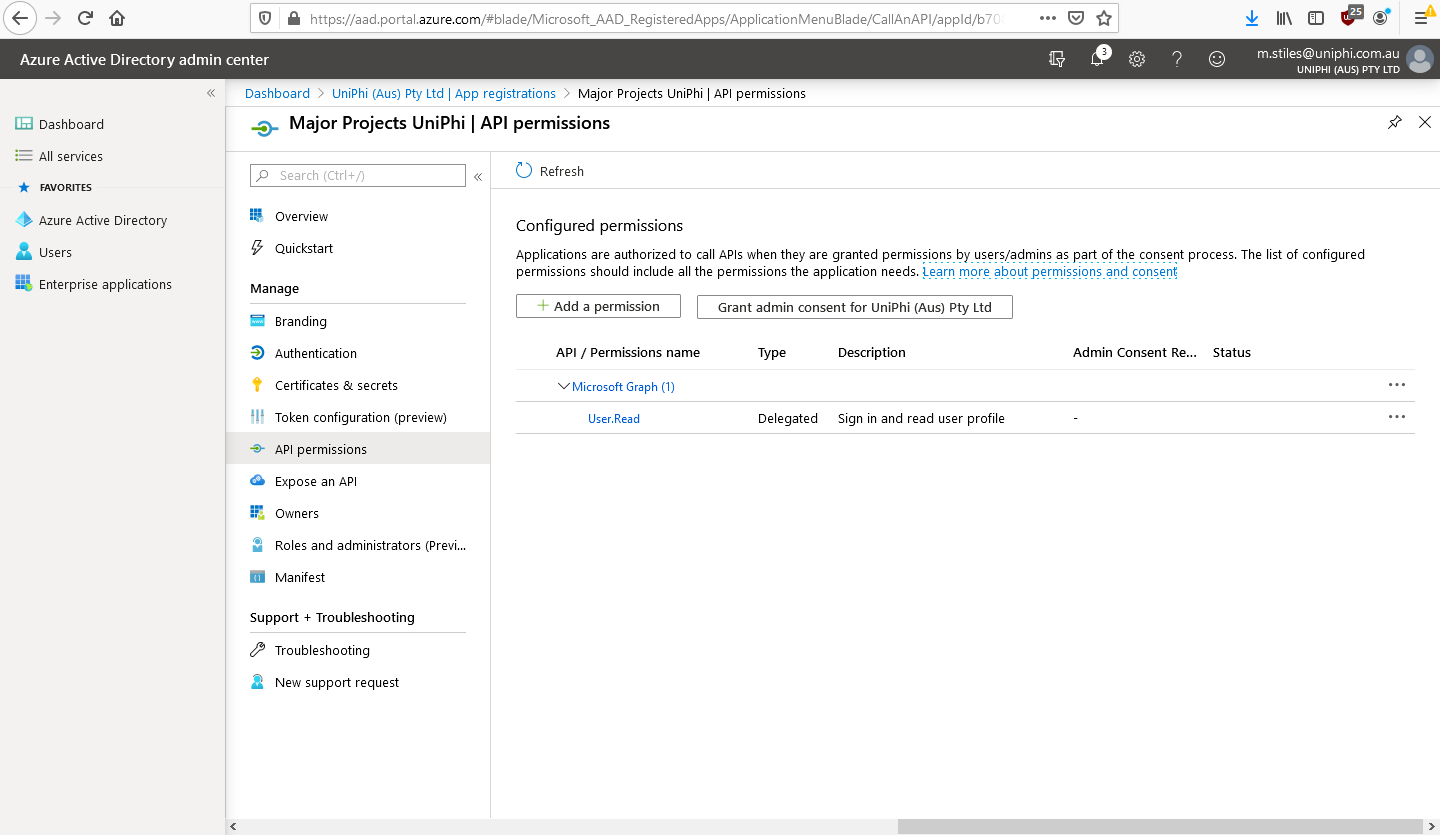
Click the "API permissions" link in the middle navigation bar
Click the "Grant admin consent for <yourorganisation> button"
Click the "Yes" button
Click on "Certificates & secrets" link above the "API permissions" link
Click the "New client secret" button
Describe the secret as "UniPhi"
Set the secret to Never expire
Press the Add button
Immediately copy the new Client secret value, consider this like a password and do not share it with anyone

Launch your UniPhi deployment and browse to Configuration -> Authentication
In the Microsoft Authentication panel, press the Enable button
Paste in your Application ID and Client secret
Press the Save button
